DIY Wooden Urn:A Step-by-Step Guide to Making a Lasting Keepsake
When you have lost a loved one or companion and need a way to commemorate a loved one or pet with a personal touch, a DIY wooden urn may be the answer. In the step-by-step process of designing, selecting materials, cutting, and assembling the urn, we will slowly be healed. Maybe the skills in the process are not skilled and the operation is not so exquisite, but every step of the process is integrated with our emotions. This guide is for those who want to incorporate the memory of someone they cherish into every sculpted curve and polished edge.
Materials you need
To begin your wooden urn making journey, here is a list of the materials and tools you will need:
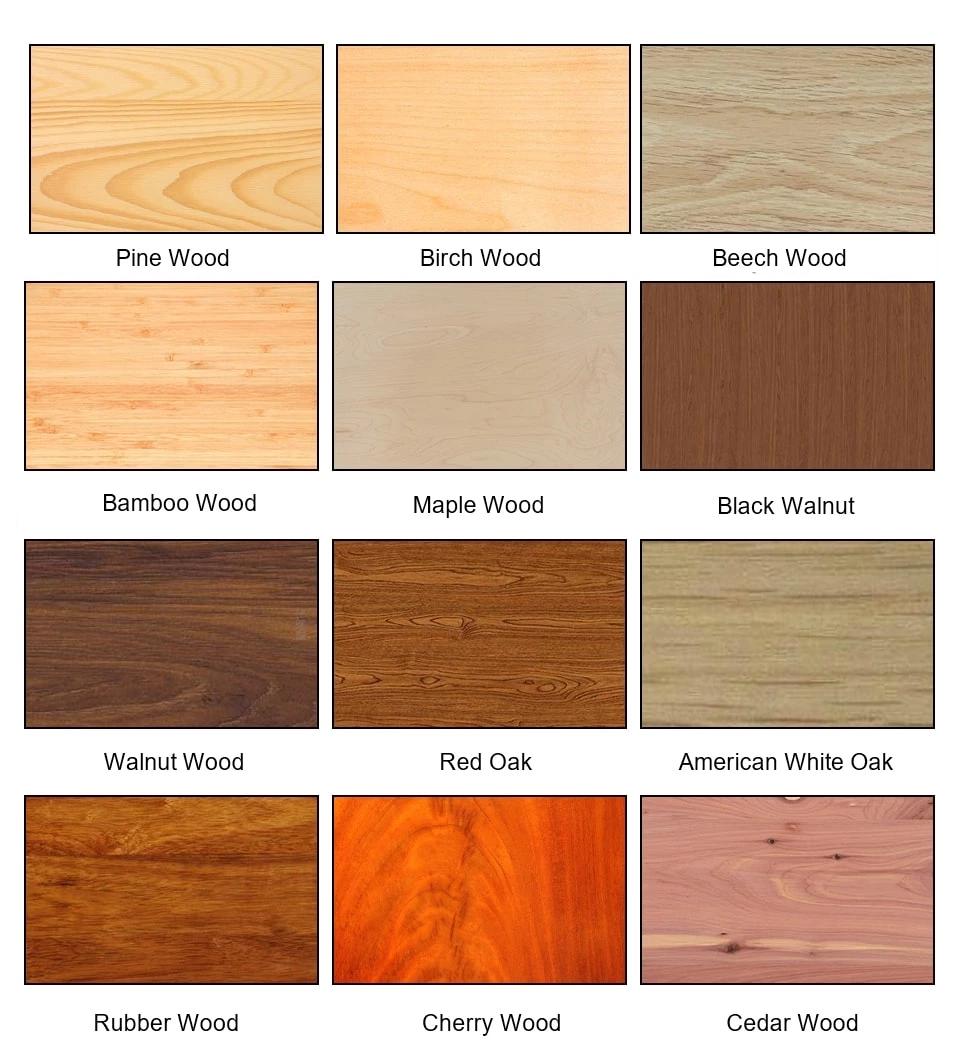
· Wood: It is best to use durable, high-quality hardwood such as walnut, oak, cherry, etc. Different qualities of wood will present their own unique textures and colors, and some of them also have their own unique fragrance.Of course, you can also choose the appropriate wood based on your actual needs. As shown below
· Sealandts and finishes: Try to choose non-toxic ones. This way the urn will not release harmful gases that harm your health while it is in the room after it is completed. ·
· Safety equipment: Goggles, dust mask and hearing protection. Safety comes first at all times. During the manufacturing process, you can choose appropriate protective tools according to the steps you want to perform.
· Measuring and marking tools: This is essential.
· Clips and Adhesives: Used to hold parts together before they are permanently connected.
· Saws and Chisels: These are the carving tools that turn wood into works of art.
· Sandpaper and Iathe tools: used to smooth and perfect the wood surface (can be selected according to personal circumstances).
· Wood carving tools: If you plan to add a personal touch by carving.
· Paint and stain: Choose the color of your own design, or leave it out if you want the color and grain of natural wood.
Let’s move on and let’s officially get into the process of making a DIY wooden urn
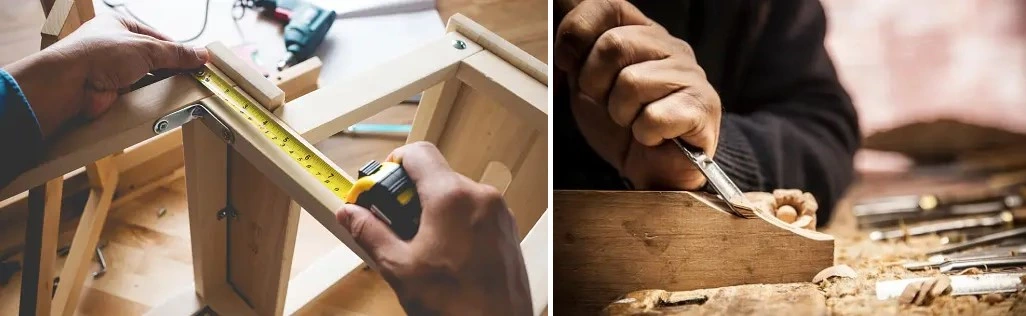
Step 1: Design and Planning
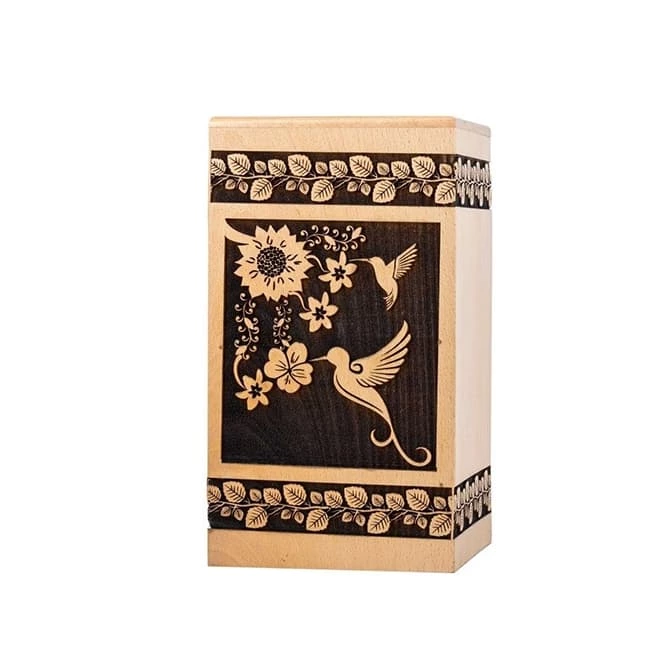
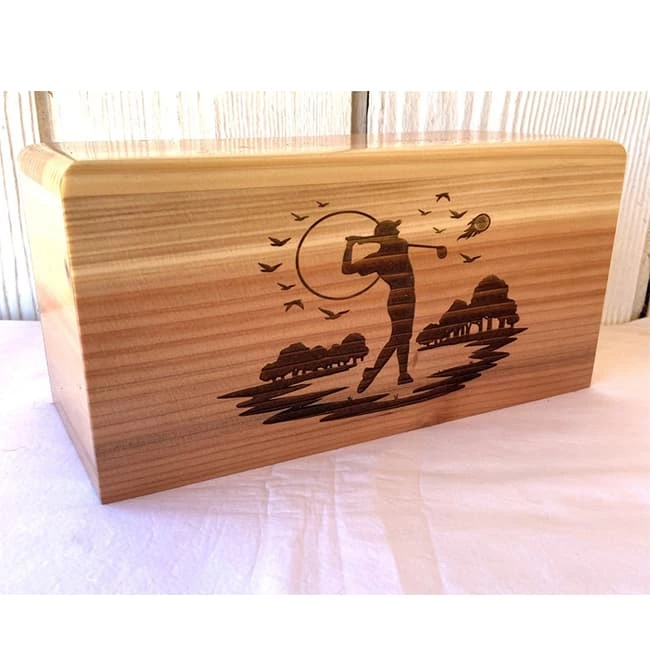
First, the urn should be sturdy and able to hold the ashes, so correct measurements are crucial. Secondly, it is necessary to consider whether to engrave words and symbols on the urn later, or to inlay things in the ashes to decorate it. If so, what aspects should be paid attention to during the production process and how to change it. The last thing is whether personalized needs are met. This is a concentrated expression of our emotions and is extremely important.
Step 2: Choose wood
The correct wood and the correct production process are the most perfect expression of the urn. As for wood, the most popular types include cherry, oak, and walnut due to their strength and elegance. If environmentalism is part of your personal narrative, you should also consider sourcing eco-friendly wood. Your local lumberyard or forestry conservation supplier is a good place to start. While you're gathering your materials, visit a few stores that specialize in sealants and wood veneers. These professionals can give you more detailed advice on how to preserve your wooden urns for the long term.
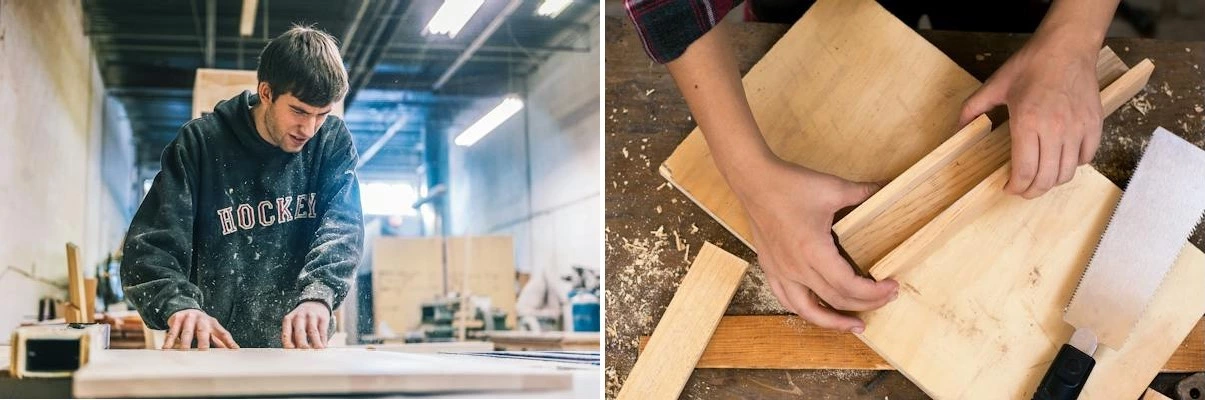
Step 3: Cut and Shape the Wood
Cutting wood is the shaping process of the urn, and it is also the process that most tests our skills. Be sure to follow your measurements carefully during this process and check each incision three times to prevent trouble due to inaccurate data measurements. Once your urn has the basic look you want, use a chisel and sandpaper to smooth out the edges and surfaces. This step requires extreme meticulousness and care, don't rush it, otherwise you will fall short. For curved designs, a lathe can streamline the process and guide the creation of beautiful, custom shapes.

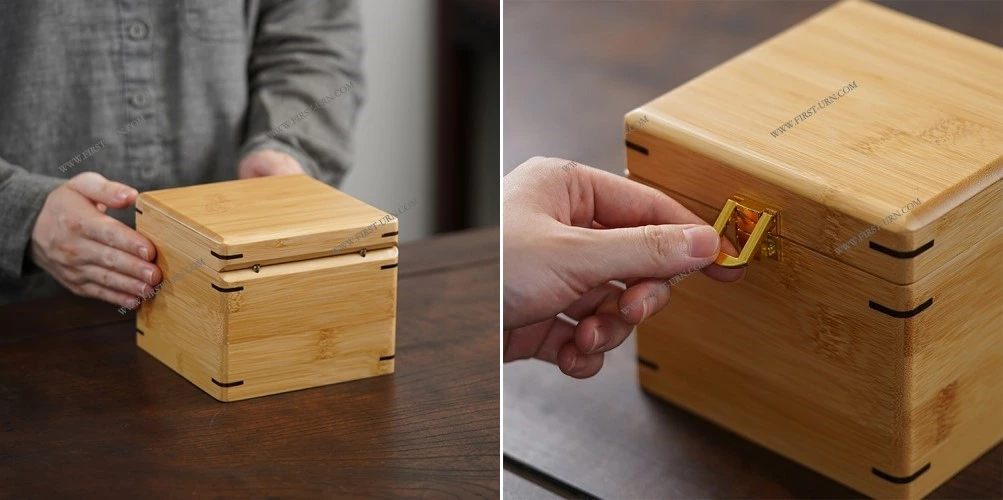
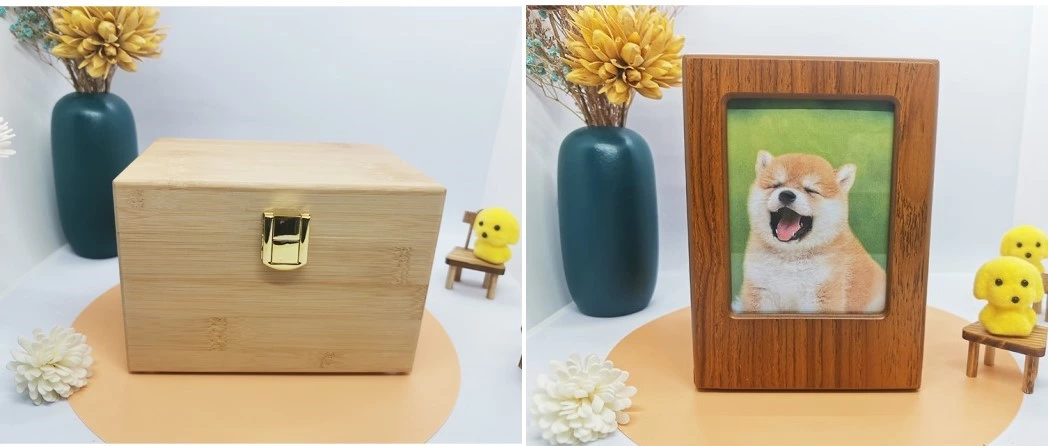
Step 4: Assemble and organize
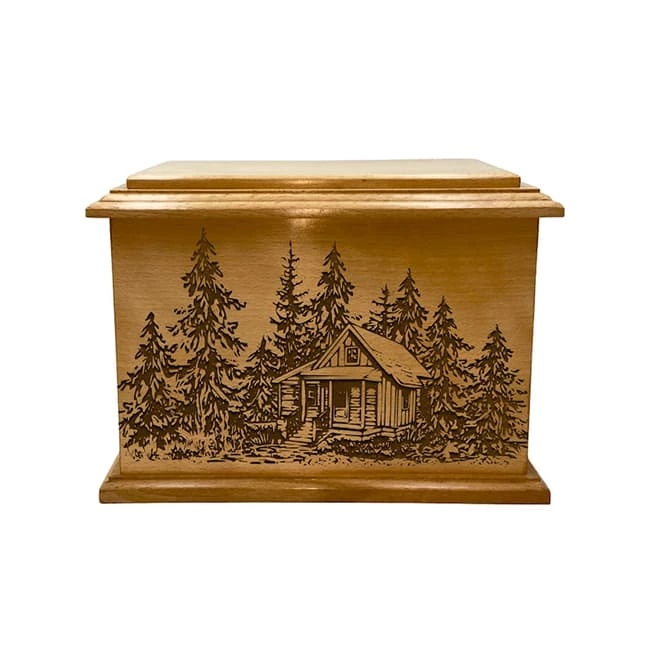
Use clamps and adhesive to give the urn its shape. Assemble individual parts with precision. Once the adhesive dries, you can use wood veneer to cover the urn. Natural finishes can enhance the inherent beauty of wood, while stains can bring out specific colors in the grain. Apply the topcoat with a brush and let it dry completely. Once dry, sand lightly and repeat the process a few times until the desired shine is achieved. Of course, if what you want is the color and texture of the wood itself, the above operations can be omitted.
in conclusion
Making an urn yourself is not an easy task, but it can become a liberating and meaningful thing we do with our loved ones or pets. This is love and this is respect. Each homemade urn is a thick book. When we see it, the stories in the book begin to tell in our ears.